1. 下载安装 SVN 插件
在 VScode 的扩展商店选项卡中搜索 SVN ,选择作者为 Chris Johnston 的这一个。
 ## 2. 配置 SVN 插件
安装完成后点击右侧的齿轮图标,选择“设置”。
在打开的扩展设置面板中,选择 Edit in settings.json
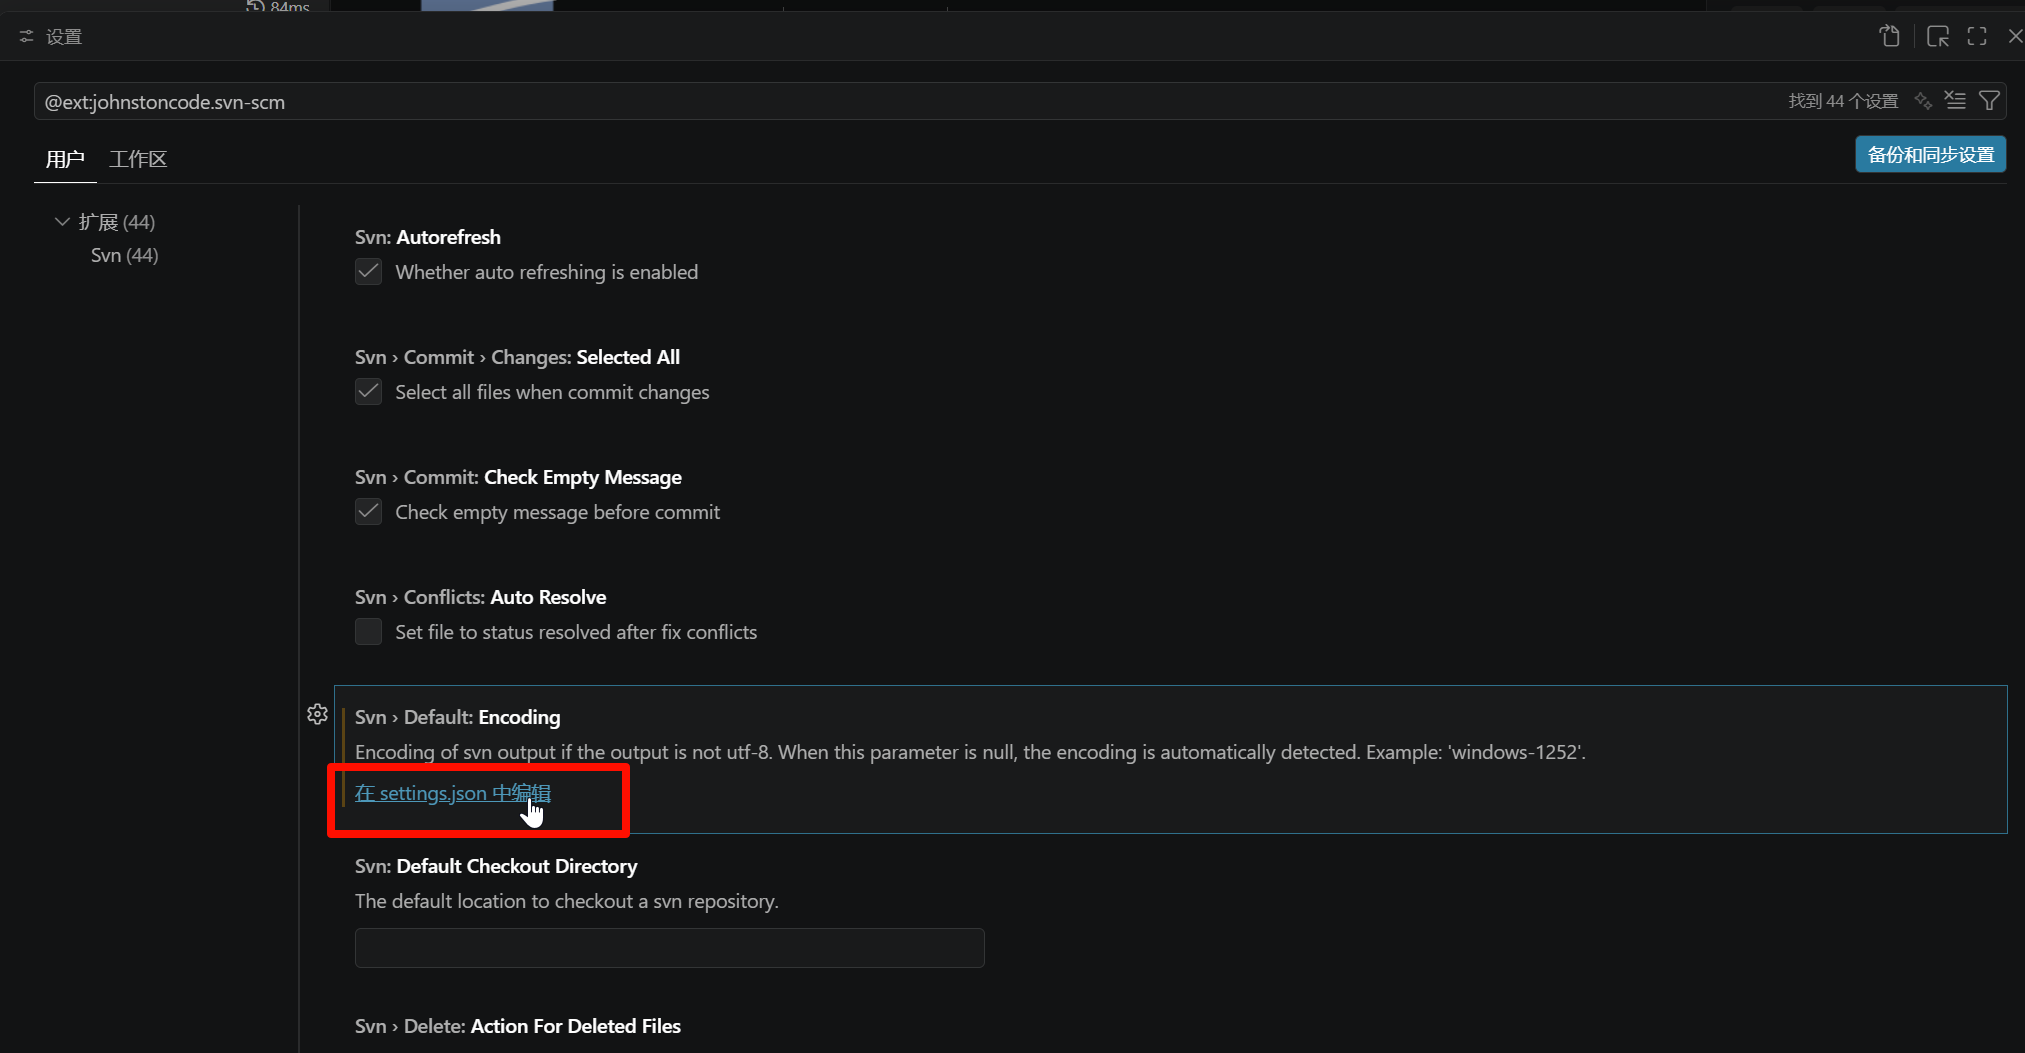 在打开的配置文件的末尾加入 TortoiseSVN 安装目录中bin目录的路径:
请注意这里的目录应当使用形如 E:/ 这样的 / 斜杠。
重启验证,输入 SVN:Checkout ,看到 SVN 相关内容则代表安装成功,如没有则可能为环境变量配置问题。
3. 常见问题
续上回,若此时没有 SVN 相关内容,则可配置环境变量或重新安装。
在重新安装时,需要勾选 command line cient tools 这一选项,建议选择其中的第二个选项 Entire feature will be installed on local hard drive。
重新安装 SVN 后需要重新启动 VScode ,重复步骤 2,检查是否成功。